Fast-Track Your Freelance Success: Top 5 Affordable Tools for Emerging UI Design Agencies

Hey there!
Let’s talk about the top 5 tools for designers starting their own business:
We’re talking about this topic today because there are so many tools out there to choose from and it can be hard to narrow your tech stack down without spending an arm and a leg. However, the right tools can streamline your workflow, boost your productivity, and enhance your designs. All for low to no cost. Once you understand the importance and functionality of these tools, you'll find yourself creating more efficient, engaging, and successful designs.
Let’s dive in!
Common Mistakes
To effectively use these tools, you need to avoid common pitfalls:
Not adapting to new tools: Sticking to your comfort zone may feel safe, but it inhibits your growth as a designer. Exploring new tools can offer innovative features that can enhance your work.
Ignoring collaboration features: Tools like Figma and Miro have excellent collaboration features. Ignoring these can lead to miscommunication and inefficient teamwork.
Overlooking task management: Tools like Notion help you stay organized. Failing to manage tasks can lead to missed deadlines and unhappy clients.
Neglecting prototyping tools: Not utilizing tools like Framer for prototyping is a missed opportunity. They allow you to test and refine your designs before the final stages.
These mistakes occur because of the resistance to change and a lack of understanding of these tools' benefits. This can keep you stuck in inefficient processes, reducing productivity and limiting your agency's growth.
Figma

Figma is a cloud-based design tool known for its collaborative capabilities, making it an essential tool for freelance UI designers starting their own agency.
The design landscape is rapidly evolving, and with this evolution, the demands on designers have become more complex.
It's no longer enough to create visually appealing designs; modern designers are expected to work in tandem with other team members, clients, and stakeholders.
This is where Figma's real-time collaboration features truly shine.
Imagine this
You are working on a project for a major client who is based in a different time zone.
With traditional design tools, you'd work on your design, save it, and then send it to your client for review. They would then provide their feedback, and you'd implement the changes - a long and potentially confusing process. But with Figma, you can invite your client to view the design in real-time. They can add comments directly on the design, and you can implement changes on the spot.
This seamless back-and-forth not only saves valuable time but also ensures that everyone is on the same page, minimizing the risk of misunderstandings.
Additionally, Figma's components and styles systems allow you to create reusable elements - like buttons, icons, or color schemes - which can be a huge time-saver.
Once you've created a component, any changes you make to it will be reflected wherever that component is used. This ensures consistency across your designs and makes it easier to maintain and update them.
So, here's a framework for using Figma in your workflow
Step 1: Familiarize yourself with Figma's interface and features. There are plenty of tutorials and resources available online.
Step 2: Start integrating Figma into your workflow. Use it for your next design project, experimenting with its features as you go.
Step 3: Embrace collaboration. Invite your team members or clients to join your Figma workspace and experiment with collaborative designing.
Step 4: Make the most of Figma's components and styles. Create reusable design elements to ensure consistency and save time.
Step 5: Keep exploring. Figma regularly introduces new features, so stay updated and continue learning to make the most of this powerful tool.
Remember, the key to successful design isn't just about having great ideas; it's also about using the right tools effectively. By leveraging Figma, you can streamline your design process, foster better collaboration, and ultimately, create more engaging and successful designs.
Framer
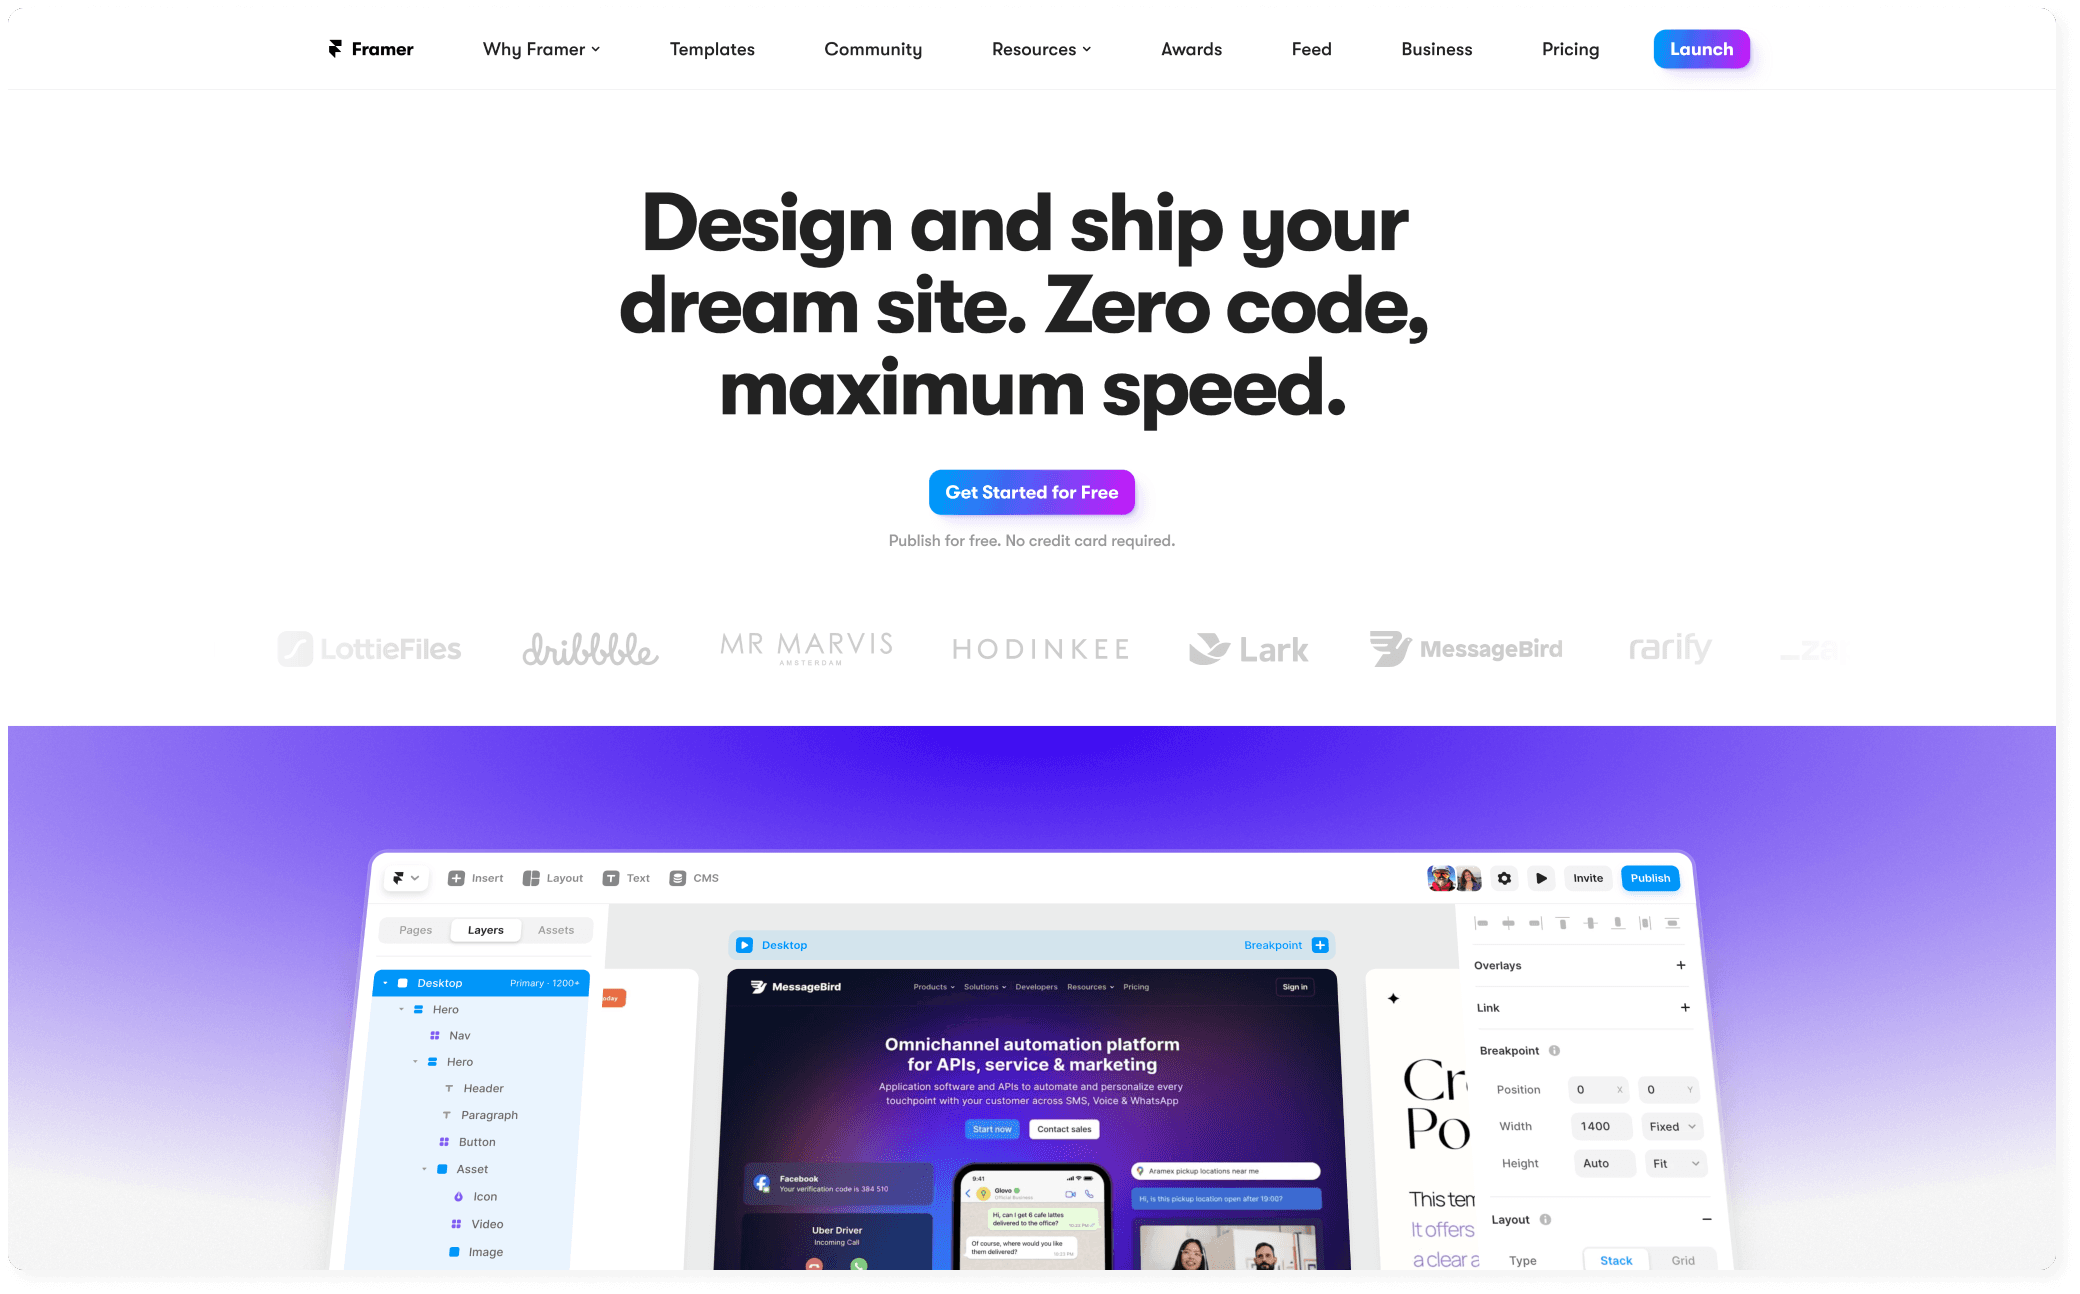
Framer is an all-in-one tool that allows you to design, prototype, and even code your digital projects. It's particularly known for its prototyping capabilities, making it crucial for UI designers.
Prototyping is a pivotal step in the design process. It's the stage where your static designs begin to take life, interacting as they would in the final product.
By creating a prototype, you can test the functionality, usability, and overall feel of your design, identifying and rectifying any potential issues before they become serious problems.
Check out this example
Suppose you're designing a mobile app for a client.
You've created a stunning design, but will it provide the seamless user experience your client wants?
With Framer, you can create an interactive prototype, simulating the actual functionality of the app.
This allows you to experience the app as an end-user would, giving you invaluable insight into its performance. You can test various aspects of your design, such as the navigation flow, button placement, or response times, and make necessary adjustments long before the coding phase begins.
This early troubleshooting doesn't just enhance the quality of your design; it also saves time and resources by reducing the need for extensive revisions later on.
Here's a step-by-step framework to get Framer into your workflow
Step 1: Learn the basics of Framer. There are numerous online tutorials and resources to help you get started.
Step 2: Start using Framer in your projects. Begin with simple prototypes, gradually increasing the complexity as you become more comfortable with the tool.
Step 3: Use Framer's interactive features to test your designs thoroughly. Don't limit your testing to just the overall flow; test individual components as well.
Step 4: Share your prototypes with your team, clients, or test users for feedback. Remember, the earlier you gather feedback, the easier it is to implement changes.
Step 5: Continually refine your prototypes based on the feedback received. This iterative process is key to creating a successful design.
By integrating Framer into your workflow, you're not just adding another tool to your toolkit; you're enhancing your entire design process. Prototyping with Framer allows you to create more efficient, user-friendly, and successful designs that truly meet your clients' needs.
Notion
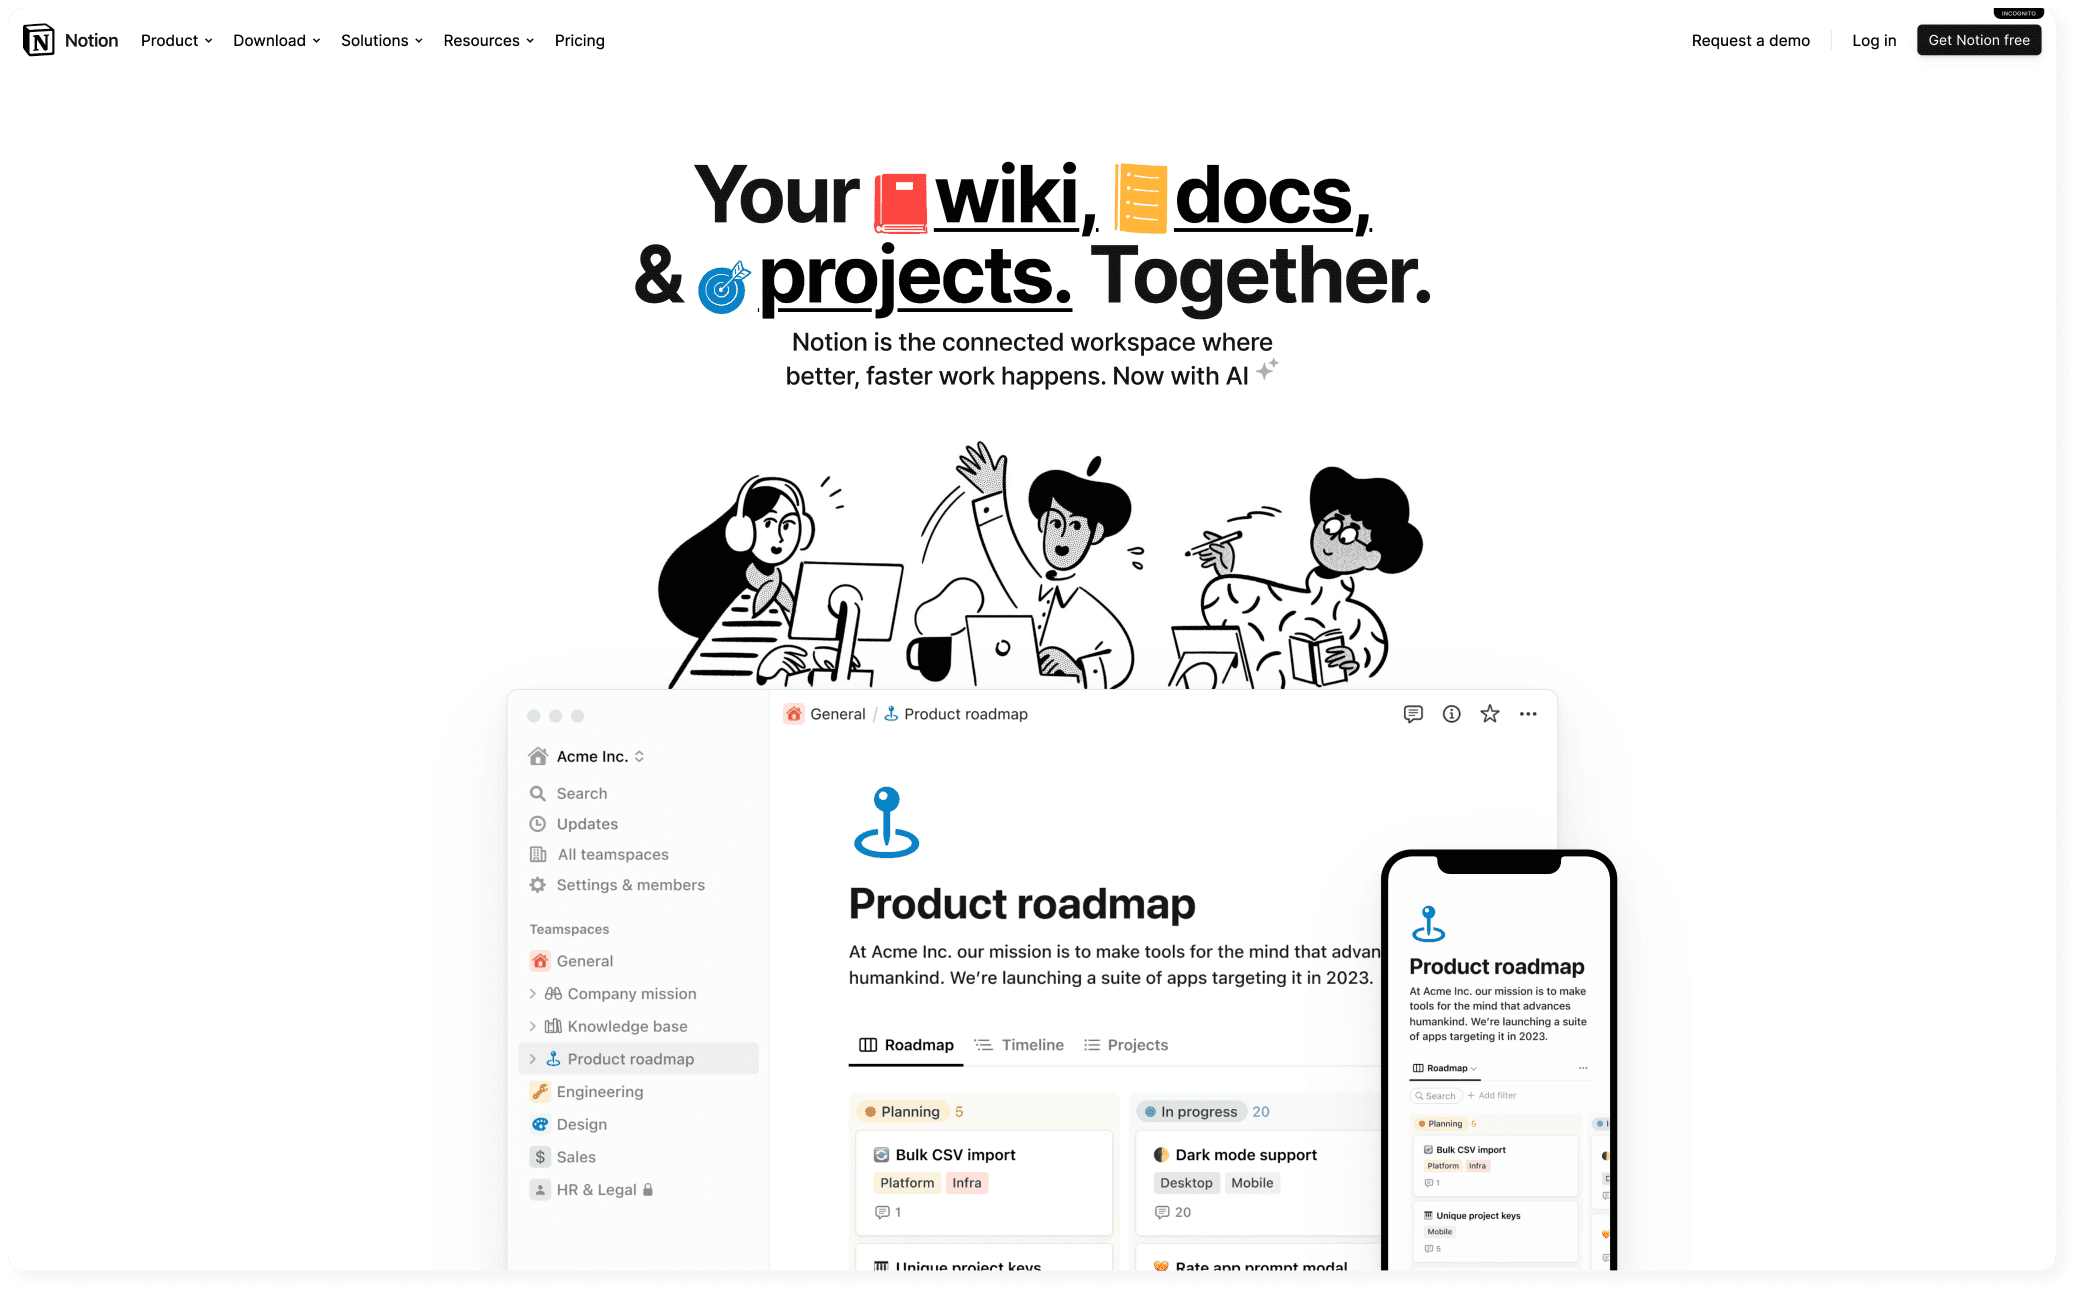
Notion is a powerful productivity tool that acts as an all-in-one workspace where you can write, plan, collaborate, and organize.
It’s essentially a note-taking app with a twist, allowing you to create a customized system for your needs.
For freelance UI designers, especially those starting their own business, keeping organized is paramount, and Notion is a tool designed to help you do just that.
In the complex world of design, projects often involve juggling multiple tasks, deadlines, and pieces of information. Keeping track of all these elements can be challenging, and disorganization can lead to missed deadlines, forgotten tasks, or lost information, damaging your reputation and your business.
Here’s how it can be helpful
Let's say you're working on a project with multiple stages - initial brainstorming, client meetings, wireframing, prototyping, user testing, and final revisions.
Each stage involves different tasks, deadlines, and pieces of information. With Notion, you can create a dedicated page for this project, with separate sections for each stage. You can note down tasks, deadlines, meeting notes, and any other important information, and everything is easily accessible in one place. You can even integrate files, checklists, and tables, making it a comprehensive hub for your project.
By having a central hub for your project information, you ensure that nothing slips through the cracks. You can stay on top of your tasks, manage your time effectively, and maintain a smooth workflow, leading to more successful projects and satisfied clients.
Here's a simple framework to help you start using Notion
Step 1: Start by exploring Notion's interface and features. There are numerous tutorials and resources available online to guide you.
Step 2: Create a structure that suits your needs. Notion is highly flexible, allowing you to set up your workspace in a way that works best for you.
Step 3: Start using Notion for your projects. Create a new page for each project, and add all the relevant information, tasks, and deadlines.
Step 4: Utilize Notion's features to enhance your organization. Use checklists for tasks, tables for project timelines, and embedded files for any important documents.
Step 5: Regularly update your Notion pages. A productivity tool is only as good as the information it contains, so make sure to keep everything up-to-date.
Incorporating Notion into your workflow can significantly improve your organization, leading to a smoother workflow, more efficient time management, and ultimately, more successful projects. It's more than just a note-taking app; it's a comprehensive solution for all your project management needs.
Webflow
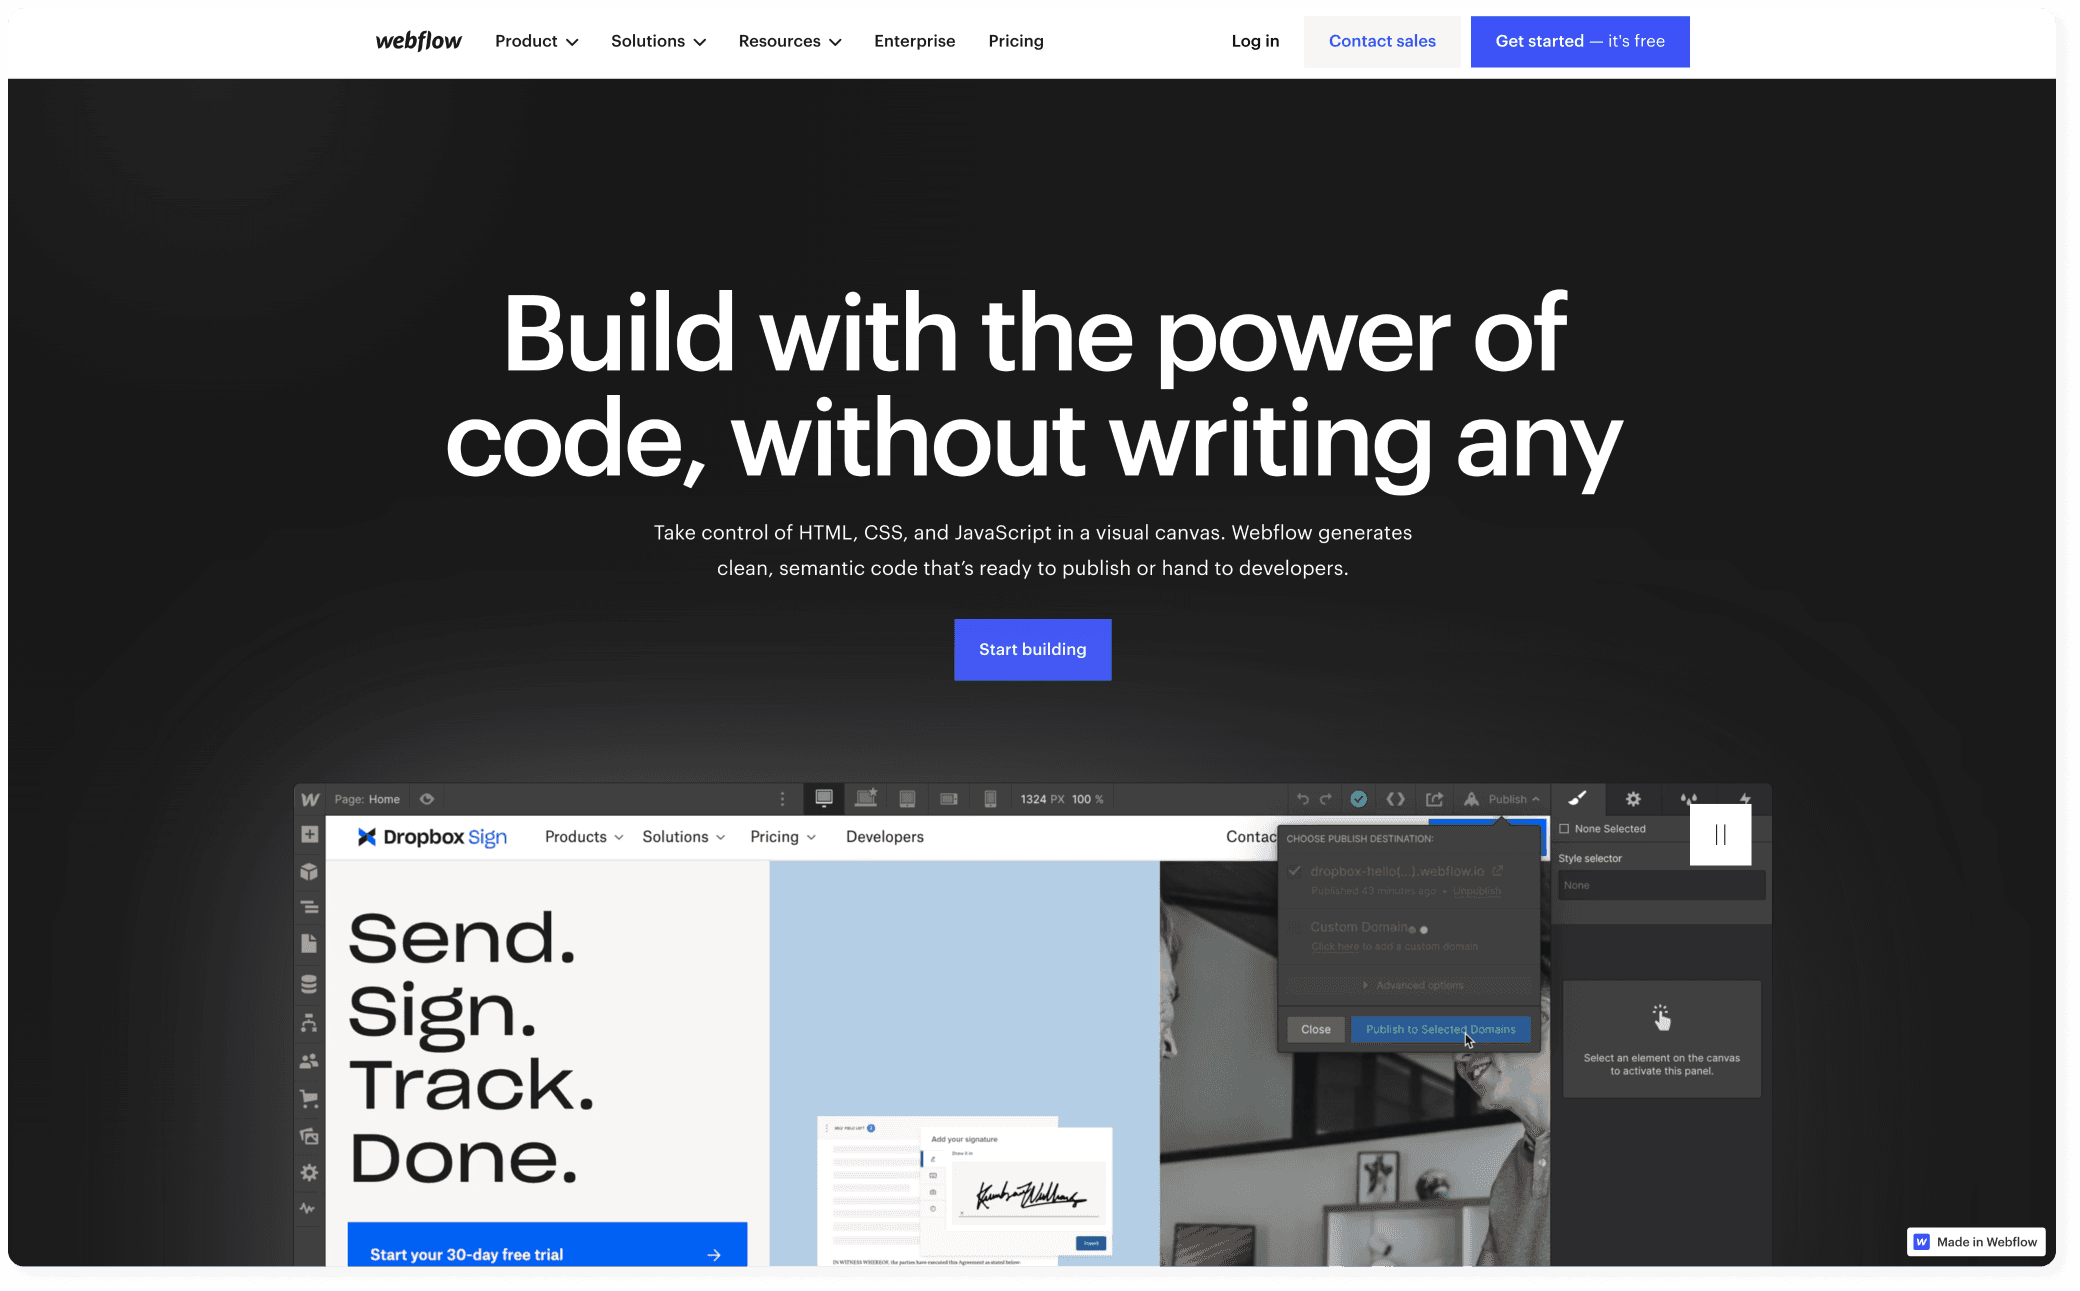
Webflow is a revolutionary web design tool that allows designers to build professional, responsive websites without having to write code. This is especially important for UI designers starting their own agency as it empowers them to bring their designs to life without relying on a developer.
The web is an essential platform for any business today, and the ability to design and develop a website effectively is a highly sought-after skill.
Traditionally, this process has involved separate roles for designers and developers, leading to communication gaps, delays, and potential misinterpretations of the original design. Webflow bridges this gap by providing a platform where you can design and develop simultaneously.
Imagine this scenario
You're working on a website for a client who wants a unique, interactive portfolio page.
With traditional tools, you'd design the page and then hand it off to a developer to code.
However, if the developer doesn't fully grasp your design or if the design involves complex interactions, this could lead to a lot of back-and-forth and revisions.
With Webflow, you can design the page visually and see it come to life as you work. You can experiment with different interactions and animations and see the results in real-time, ensuring the final product matches your vision.
Here's a framework to incorporate Webflow into your workflow
Step 1: Begin with learning the basics of Webflow. There are many online resources, including Webflow University, which provides a comprehensive guide.
Step 2: Start by creating a simple website on Webflow. It could be a personal project or a test project. The goal is to familiarize yourself with Webflow's features and interface.
Step 3: Once comfortable with the basics, start exploring more advanced features like animations, interactions, and responsive design.
Step 4: Use Webflow's CMS for any website that requires dynamic content. It’s a powerful tool that can simplify the management of blog posts, portfolio pieces, or any other content that updates regularly.
Step 5: Continuously update your skills as Webflow introduces new features and updates. The field of web design is always evolving, so ongoing learning is key.
By integrating Webflow into your toolkit, you're not just adding another design tool; you're changing the way you design websites. It streamlines the process, enhances your control over the final product, and lets you see your designs come to life in real-time.
Miro
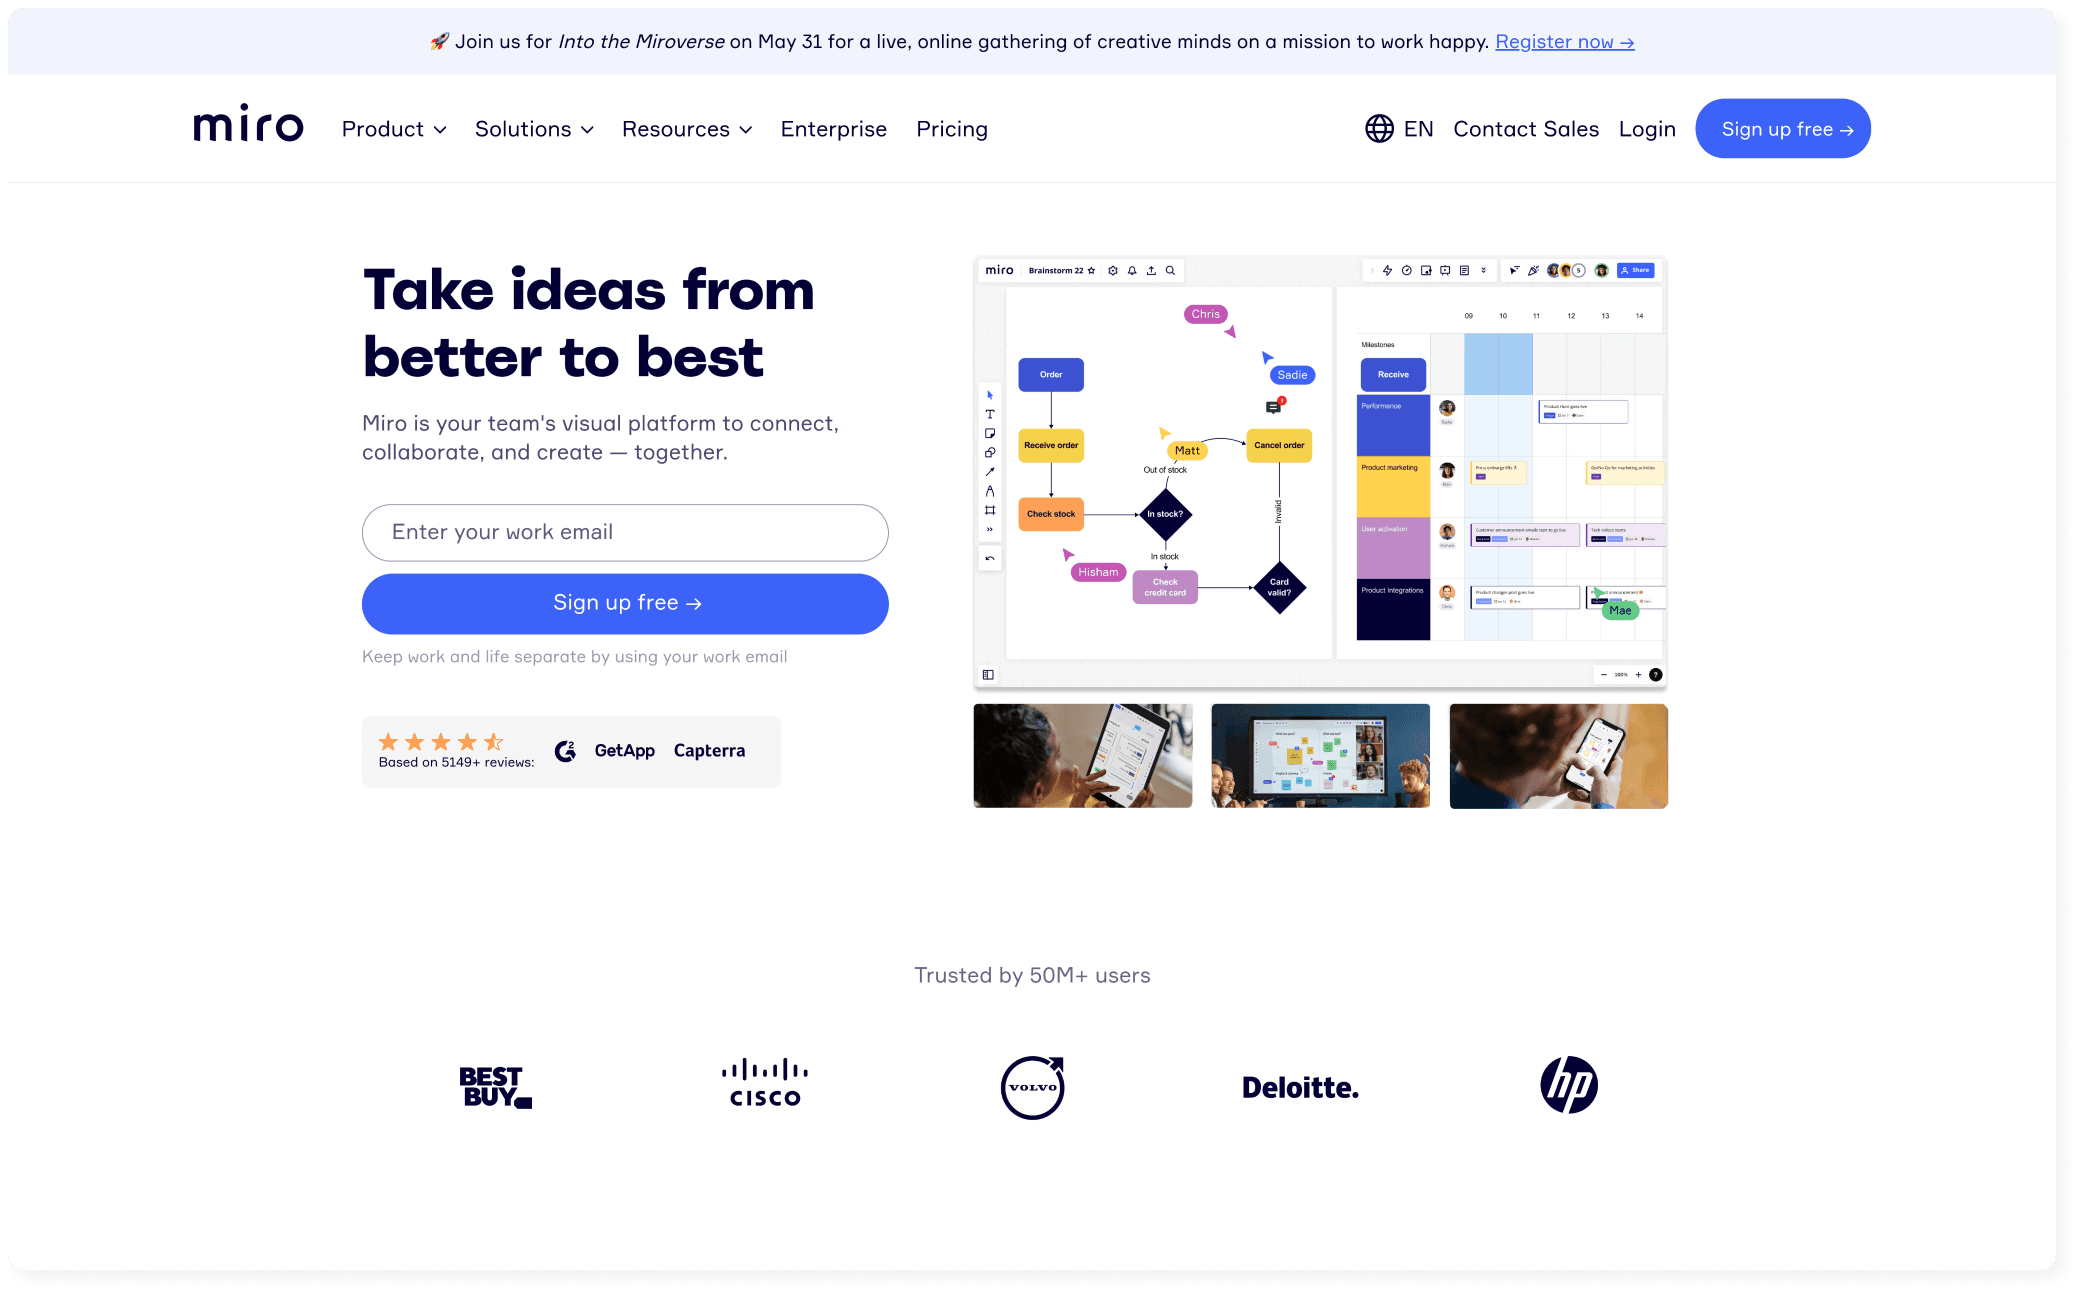
Miro is an online collaborative whiteboard platform designed to enable teams to work together effectively, regardless of their physical location. For any designer, but especially freelance designers who are primarily working remotely, Miro can be a game-changer, particularly in brainstorming and planning phases of projects.
In the field of UI design, collaboration is critical. Whether it's working with clients to understand their vision, brainstorming with your team, or gathering feedback on your designs, effective collaboration can make the difference between a good project and a great one.
Here’s a scenario
Think of a situation where you're initiating a new project with your remote team.
You need to brainstorm ideas, create a project timeline, assign tasks, and ensure everyone understands the project's goals.
Traditionally, this would involve a physical meeting with a lot of sketches and notes, which can be challenging and time-consuming to organize when your team is distributed.
With Miro, you can create a virtual whiteboard where team members can collaborate in real-time, no matter where they are. You can brainstorm ideas, create flowcharts, assign tasks, and even vote on ideas. It's an interactive, engaging, and efficient way to kick off a project.
Here's a framework to start using Miro in your workflow
Step 1: Start with learning the basics of Miro. Plenty of tutorials and resources are available online.
Step 2: Create your first board for a real project. Use it for brainstorming, project planning, or gathering feedback.
Step 3: Involve your team or clients. Miro shines in a collaborative setting, so invite others to join your board and contribute.
Step 4: Explore Miro's features. From sticky notes and freehand drawing to flowcharts and voting, Miro offers various tools to facilitate collaboration.
Step 5: Regularly review and update your Miro boards. Keep them as a living, evolving reflection of your project's progress.
Incorporating Miro into your workflow not only enhances your team's collaboration but also provides a visual, interactive platform that can make your meetings more engaging and productive. It's not just a tool; it's a new way to collaborate and innovate in the digital space.
So what’s next?
We've journeyed through the top five tools every freelance UI designer should leverage when starting their own agency - Figma, Framer, Notion, Webflow, and Miro.
Each of these tools brings something unique to the table, empowering you to create compelling designs, prototype effectively, stay organized, design websites without needing to code, and facilitate impactful collaboration with your team or clients.
But knowing these tools is just the beginning. The real magic happens when you start integrating them into your workflow. Each of these platforms offers something distinct, and together they can transform your design process, making you more efficient, effective, and collaborative.
So, what's the next step? Start exploring!
Take each tool one at a time, learn its features, and see how you can incorporate it into your projects. Remember, the goal isn't to master everything at once but to continually improve and expand your skill set. So, don't hesitate. Start today and unlock a new level of potential in your design journey.
As you keep growing as a designer, remember that every great designer was once a beginner. Don't be afraid to experiment, make mistakes, and learn from them.
These tools are here to help you become the best designer you can be, and with them, you're well-equipped to start your own successful UI design agency. Good luck on your journey, and remember, the only limit is your creativity!
That’s it!
As always, thanks for reading.
Hit reply and let me know what you found most helpful this week—I’d love to hear from you!
Cheers,
John